|
|
|
|

December 25, 2016
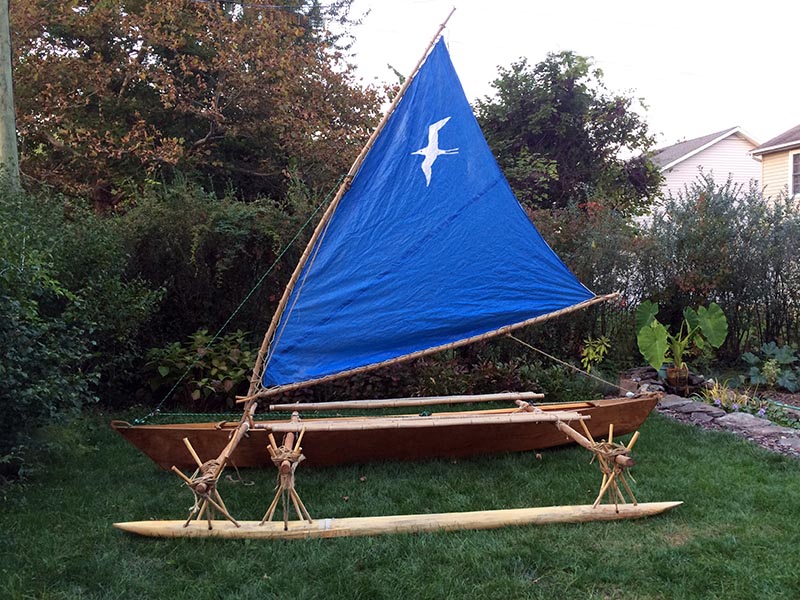
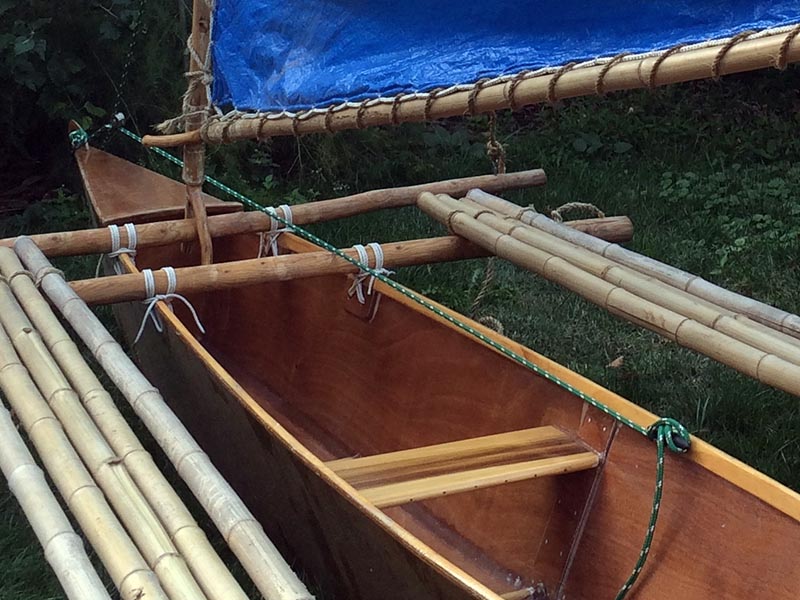
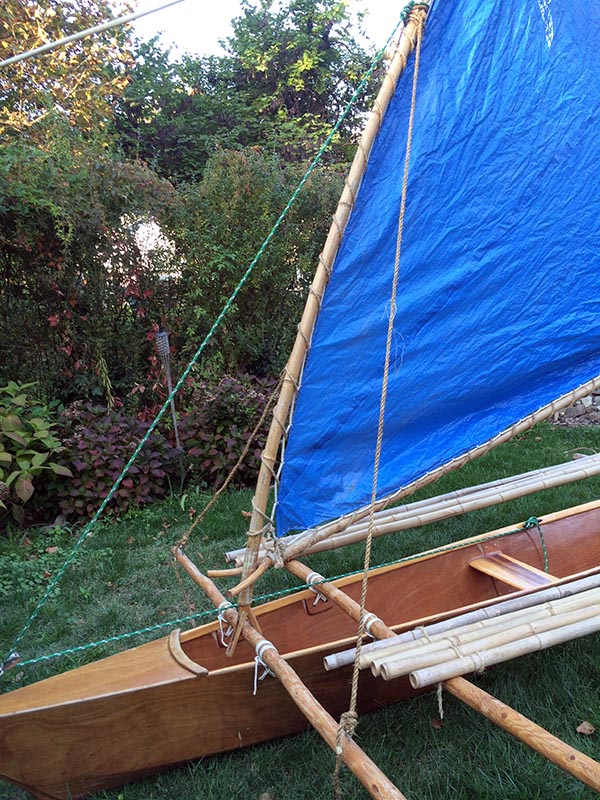
The whole canoe, rigged for sailing, in my backyard. The rigging for the Melanesia canoe has a few options, including a windsurfer mast and sail, which I’m sure would work really well. But I’m going for traditional here, even with my sail of blue-tarp, so I opted for the crab claw, as discussed in the previous post. This required a mast and spar (it’s not really a “boom,” that’s for the more common Marconi rig). These could have been made of light, strong woods, but I used large-diameter bamboo.
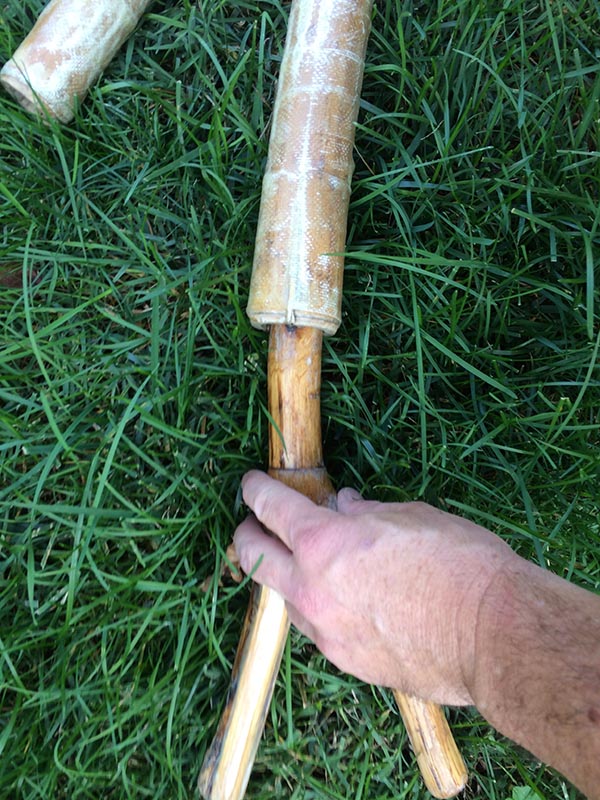
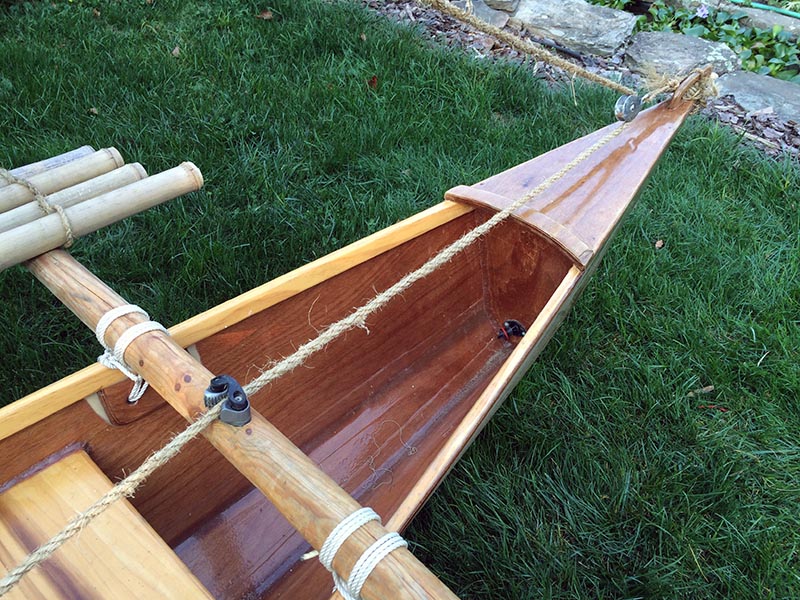
Bamboo is very light and pretty strong for its weight. Moreover, it works really well for how the mast and spar are mounted. Wharram’s instructions tell you to make to Y-shaped pieces from tree branches, and then splice them onto your mast and spar. Since I am using bamboo, which is hollow, it is easy for me to simply insert these Y’s into the ends of the poles. I used oak for my Y’s, that they would be as strong as possible, and epoxied them for good measure.
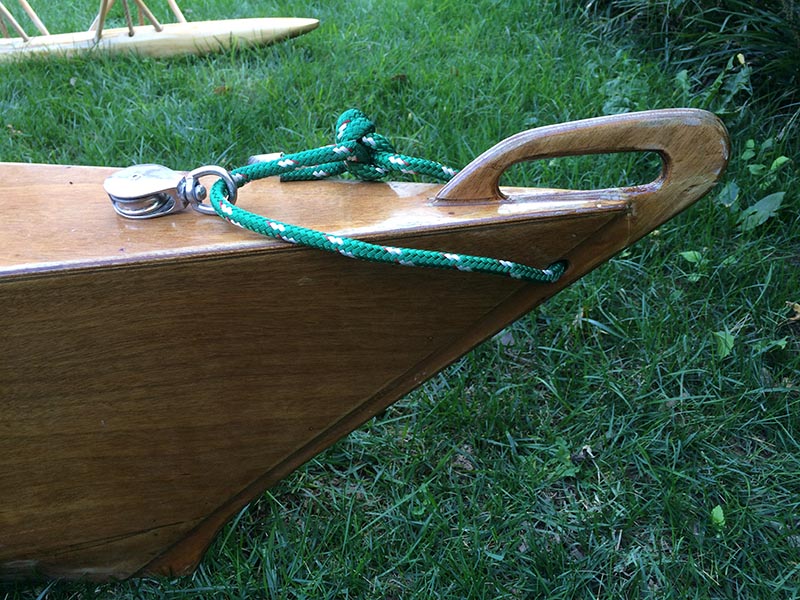
As you can see, the Y at the bottom of the mast sits atop the foremost ‘iako—gravity and the sail’s stays keep it there, but it can slide from side to side, which can be good or bad but mostly is hard to control, so sometimes I lash it in place. Then the Y at the end of the spar hooks onto the bottom of the mast. Very simple and easy. Now rigging this sail requires more rope, and here I have decided on two types. First is good old manila rope, which has that natural, traditional look. This I have used for the stays and the sheet (the rope that controls the sail), and originally for the forestay that attaches to the bow. After some trial and error (okay, mostly error) I decided to make some changes. First of all, with the forestay tied to the handle on the front of the canoe, I had no way of raising and lowering the sail while under way. I realized, as I careened into shore with a strong tailwind one day, that I’d better be able to do that. Moreover, you have to raise the mast before you even push off from the beach. So first I tied a pulley to the bow, and then I mounted a cleat where I could reach it. Then I purchased some commercial Dacron marine rope. Now, from my seat in the rear of the canoe, I can raise or lower the sail fairly easily.
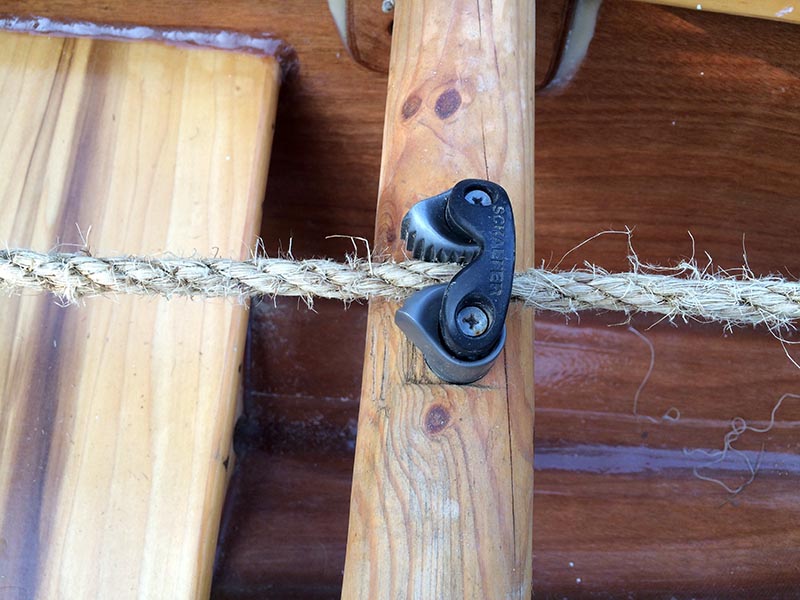
Similarly with the sheet: the instructions show it simply going around the rear ‘iako. Well, I found myself holding the sheet and the steering paddle at the same time, and it got pretty stressful. I could never let go of the sheet. Now I’d sailed on regular sailboats and knew there was way to fix this problem. It’s called a “cam cleat,” and it has two little spring-loaded cams with teeth on them. You pull the rope through them, and the cams keep it from sliding back out. To change the position, you pull the rope up out of the cams, adjust, then pull it back down into them. Now I can adjust the sail and let go of the sheet, the cam cleat will hold it there.
The stays are tied directly to the foremost ‘iako, but this also turned out to make life more difficult than necessary, because they stretch a little and can need some adjusting when you’re out on the water. So I mounted two large screw-eyes through which I loop and tie them with slip knots so I can easily undo and redo them.
I also—and I think this was suggested by the building instructions—made a pair of set-outs for each side of the canoe. I used more large-diameter bamboo and lashed them together in two bunches. These I tie lightly to the second and third ‘iako—lightly so that I can flip or slide them out of the way if I need to be paddling instead of sailing. These set-outs are useful under sail with good wind: when the canoe starts to heel over, I sit out on the opposite side to bring it back down. This is especially important if the ama is on the lee side, in which case it is being pushed down into the water and causing more drag. Then there is the matter of steering this canoe. I had, in my youth, tried sailing a regular sail canoe—a normal canoe rigged with a sail and leeboards that you steer with a paddle. So at first that’s how I tried to steer this one, and that worked fine if the wind was light. But if the wind was strong, the regular-sized paddle didn’t do the job, so I broke down and carved a proper steering paddle according to Wharram’s instructions.
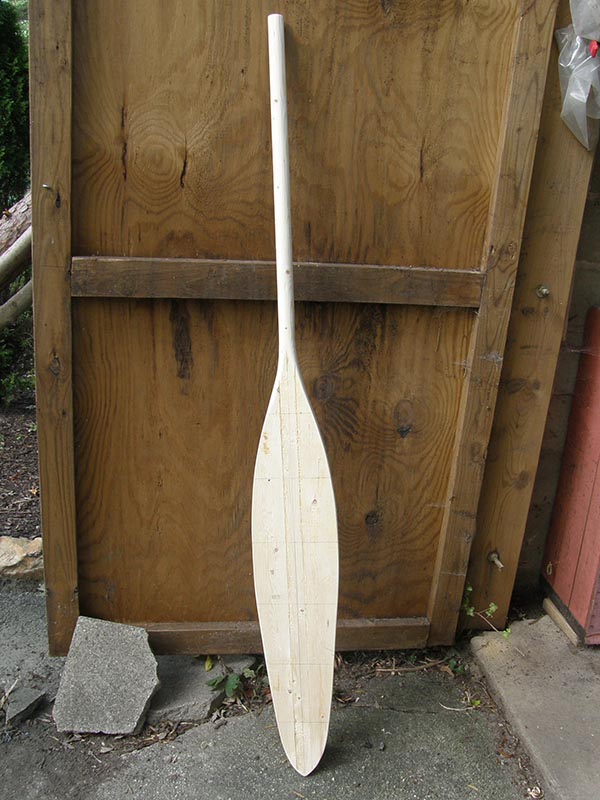
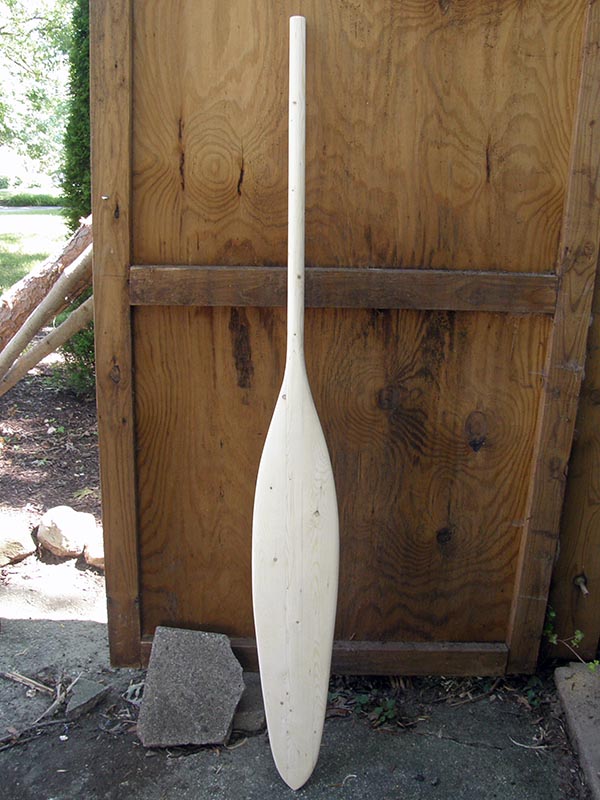
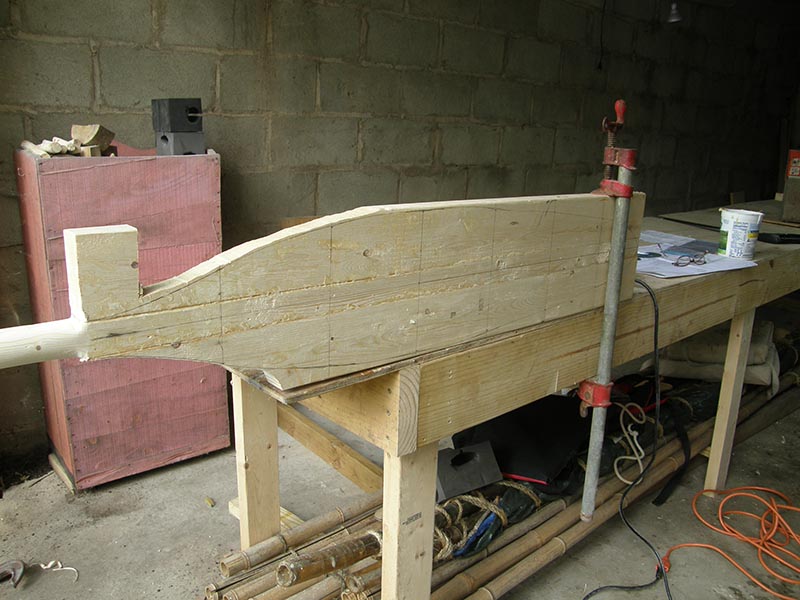
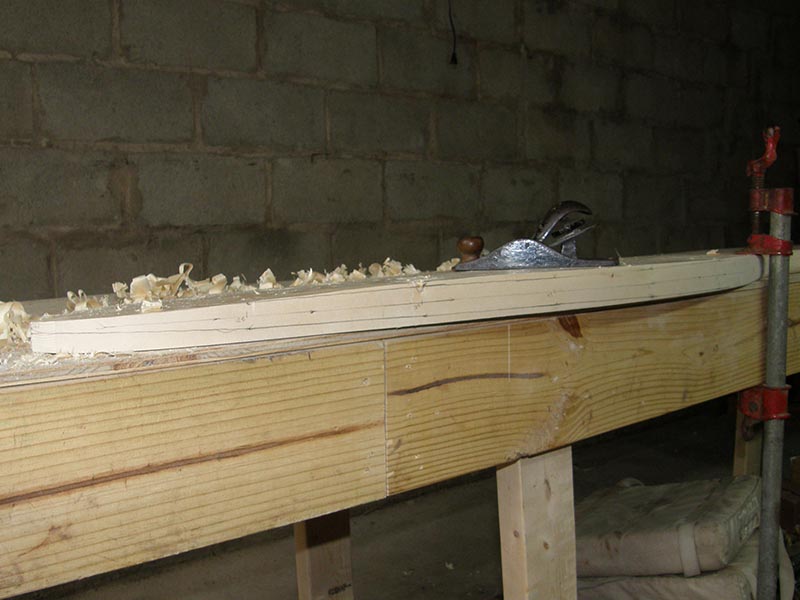
This is a fairly simple operation. You glue two pieces of two-by-four on either side of a two-by-two. Next you cut out the paddle shape. And then, you work with a plane to shave it down into a blade. This took a while, and the two-by-fours were pine with some knots in them, which made it a little more work, but in the end, I had a large steering paddle.
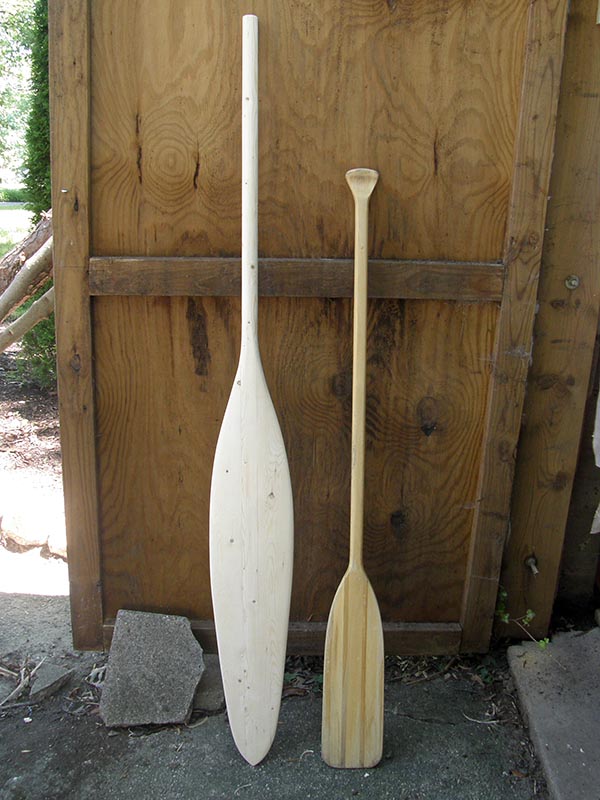
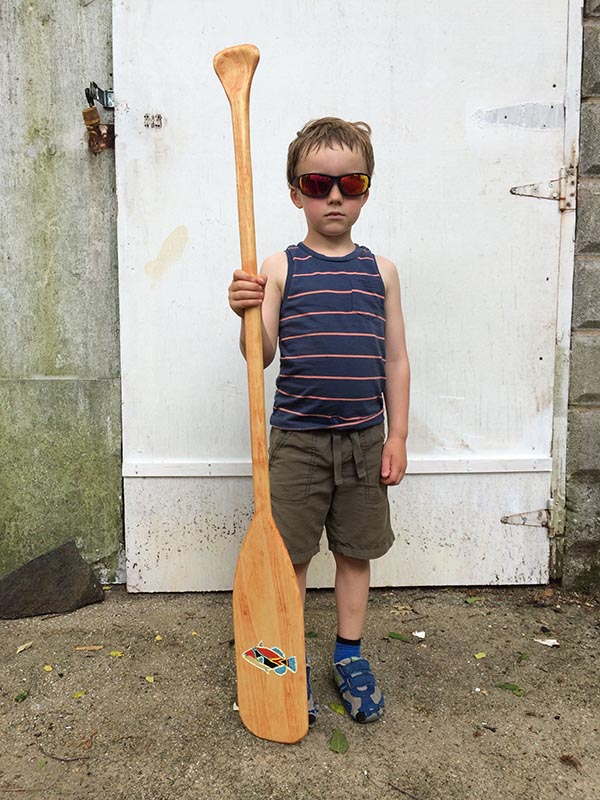
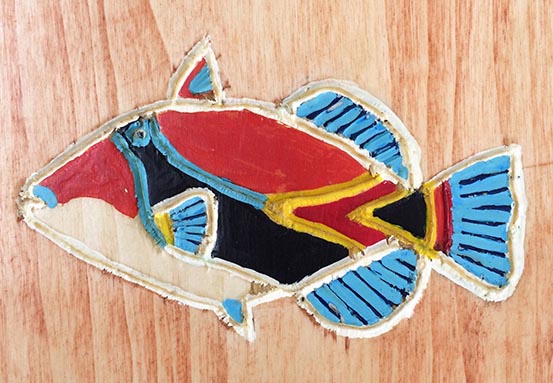
I enjoyed carving this paddle so much that I figured I could do more. I wanted a paddle for my son, who was then about six. So I bought a poplar board from the hardware store, used an existing paddle to trace the shape, then cut it out and shaped it into a paddle. Just for fun, I carved and painted (as best I could) a humuhumunukunukuapua‘a on it--the Hawaiian State fish.
Unlike the sail canoe of my youth, the Melanesia does not have leeboards, much less a centerboard, so “leeway” is a problem under sail. That is, when you are sailing at an angle to the wind, the canoe is pushed sideways in addition to being pushed forward. This giant steering paddle is supposed to be used like a moveable leeboard: you stick it straight up and down, moving it forward or aft as necessary to steer the canoe. You are NOT supposed to use it like a rudder, which is my inclination. I am still getting used to this. Now it's time to put this all together and go for a sail! |
||
|
—RDK Herman Next: Part 13: Let's Go Sailing! |
||

|
||


Copyright 2016, Pacific Worlds & Associates |
